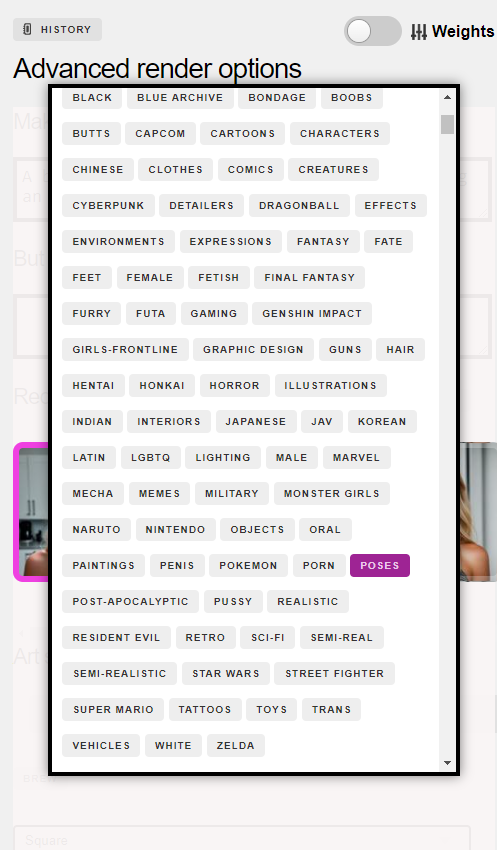
MyAiGF has a brand new feature called AI Skills.
How it works: Simply type what you want to do, and the AI finds a way to get that done. Skills writes a detailed AI prompt to bring out more realistic details. You have a chance to edit that prompt or run it as-is. Don’t worry, it will all make sense soon. Try this tutorial and you’ll master this Skill in just five minutes!
In this tutorial we’ll focus on just one of the skills, called Nudify2. This Skill does two things – you can instantly undress your GF and and also pose her in sexual situations. There are other skills worth exploring, such as Instant Blowjob video. Tons of fun. One at a time:
INITIAL SETUP
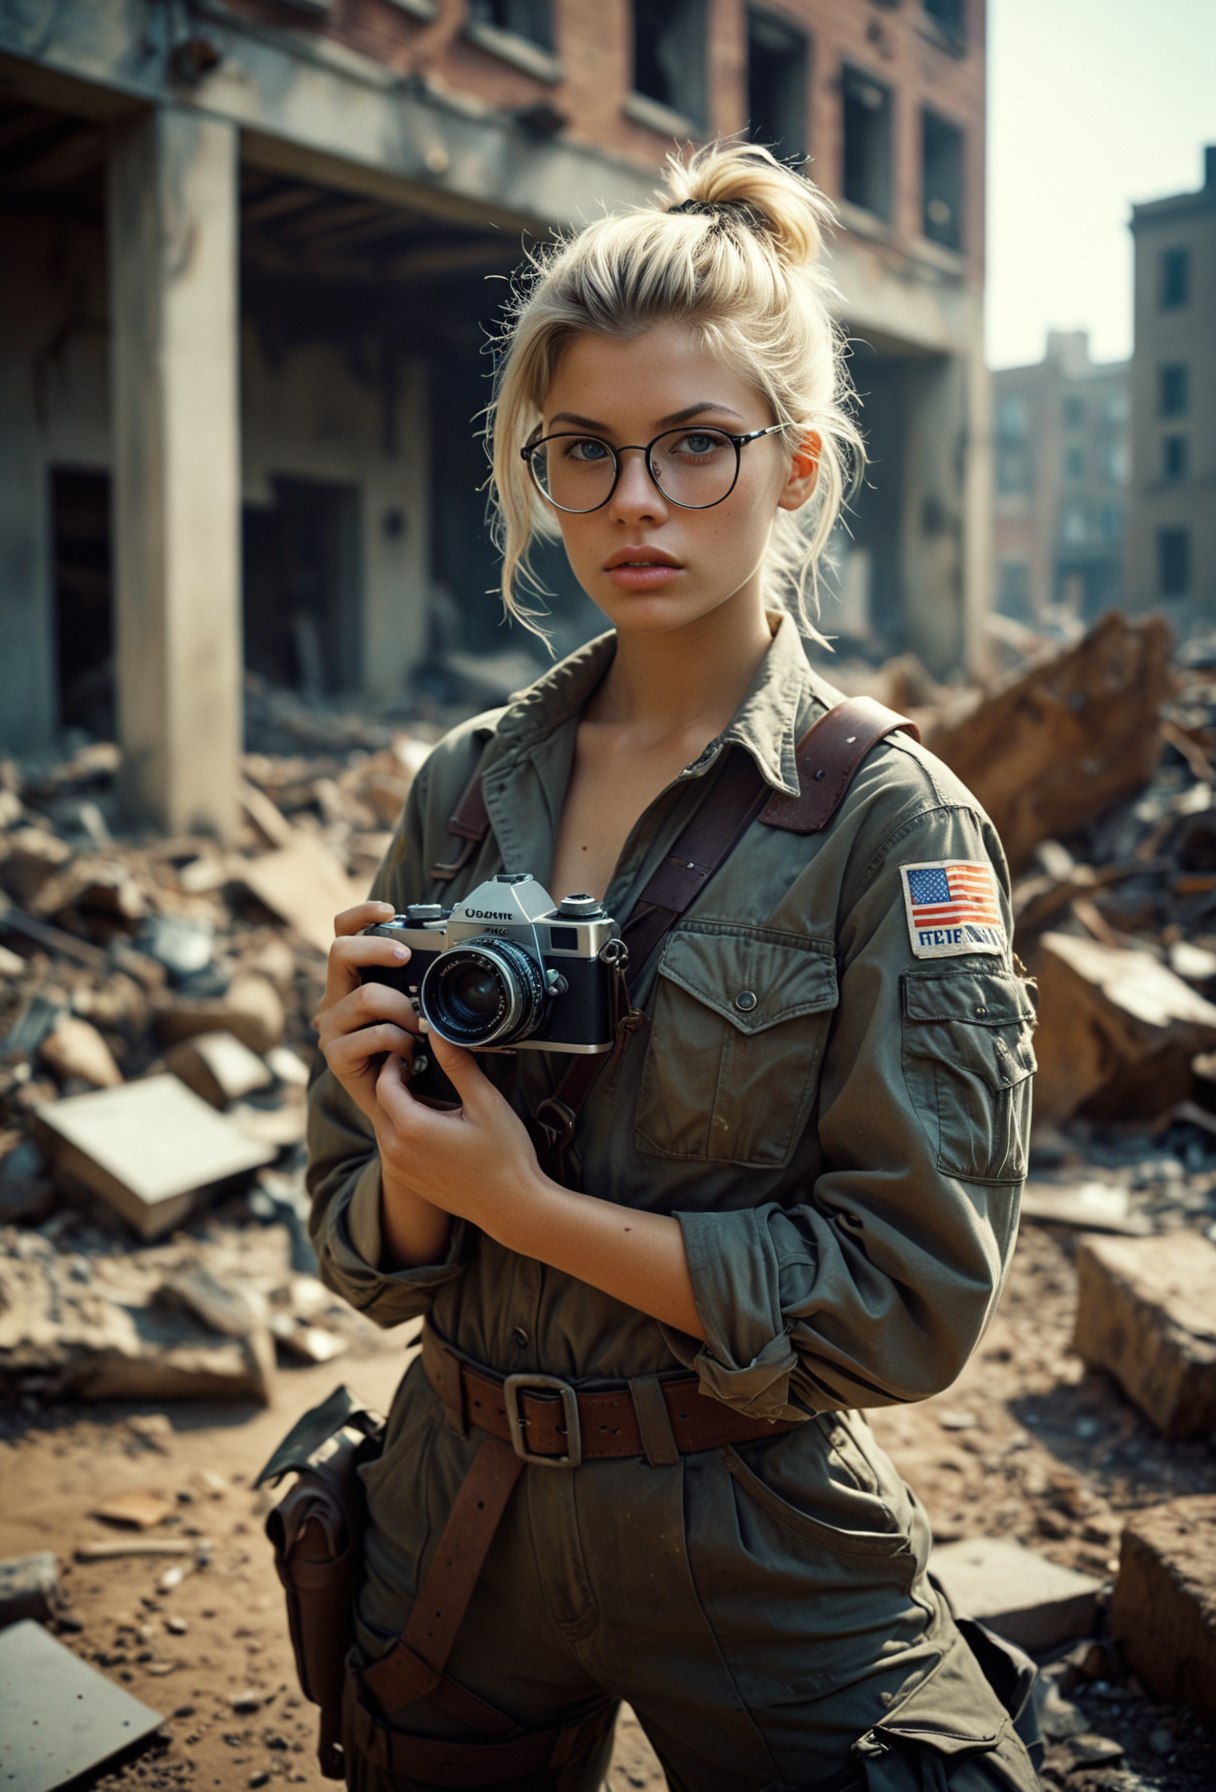
You’ll need a photo to start from. Create an artificial one with our AI tools (example prompt below) or use one of your own from Instagram, etc.
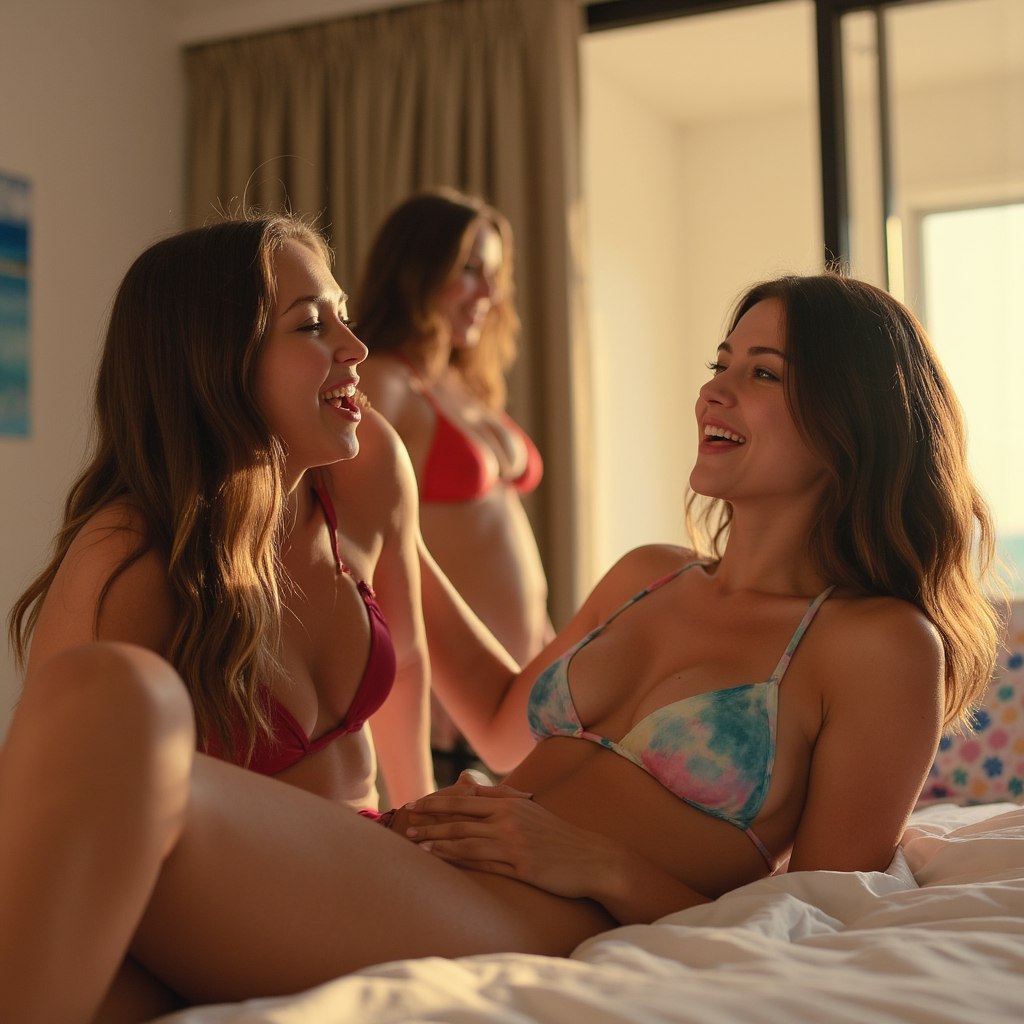
Here is a photo of an AI GF we created using the “pornmaster35-z” workflow in our editor. (Workflows are in the Tasks pulldown of the Unified Editor tool, found on your dashboard)
Now that we have a GF, we can pose her any way we want with the Nudify2 skill.
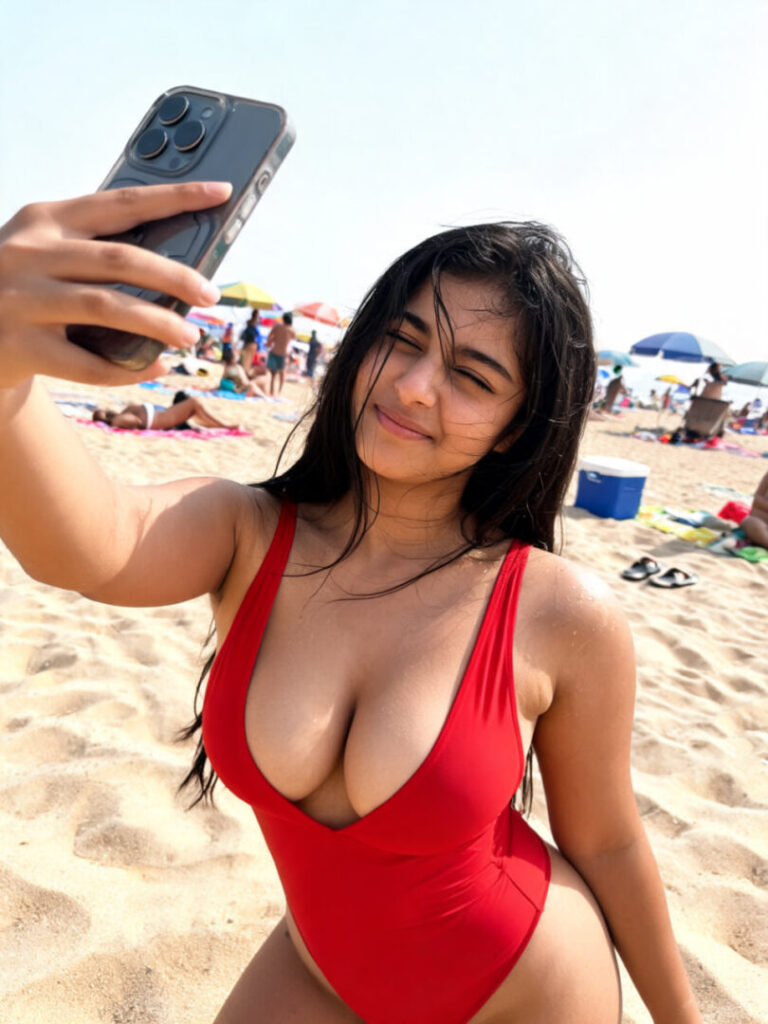
/workflow /run:pornmaster35-z Casual phone selfie of a beautiful 18-year-old Pakistani girl with light brown skin, long dark wavy hair, and a slim body with contrastingly large natural breasts, standing on a sunny beach wearing a tiny red micro-bikini that barely covers anything, strings tied at the sides and top, one arm stretched out holding the phone, natural slight smile and squinting against the bright sun, a few strands of hair blowing across her face, visible phone case and fingers in the shot, background shows ordinary crowded beach with colorful towels, umbrellas, random people walking by, coolers and sandals scattered on the sand, harsh midday sunlight with strong glare, overexposed sky, and shiny skin from sunscreen and sweat, slightly tilted framing with too much sand at the bottom and her legs partly cut off, mild phone sharpening and compression artifacts, unedited everyday vacation snapshot
Let’s see if we can get our lovely subject to engage in some oral pleasures.
The input should now read (1) and now we type the following in the box that reads “Describe what you want to create”
/skill /run:nudify2 make her nude. She is giving a blowjob. POV close up.
Now we click GENERATE
Your screen should now look like this with a full prompt created for you:
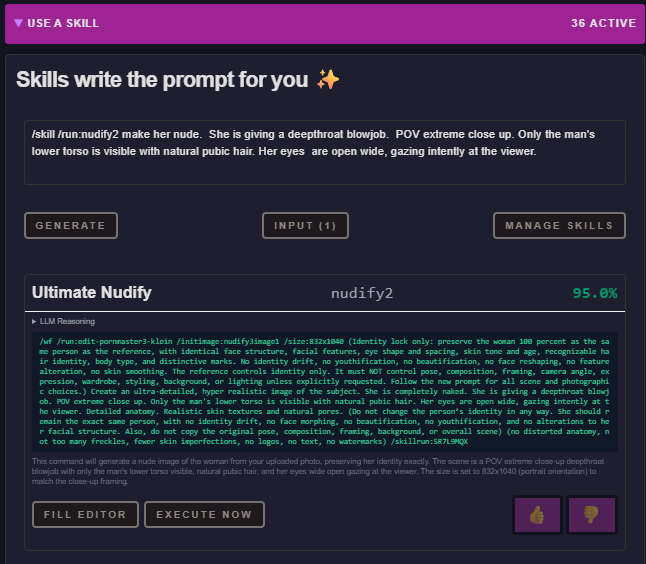
Just click “EXECUTE NOW” and your render will begin.
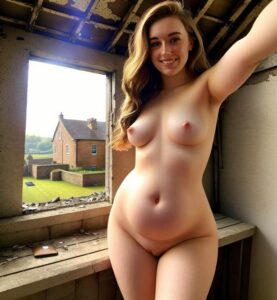
And that’s it. In a few moments we get this:
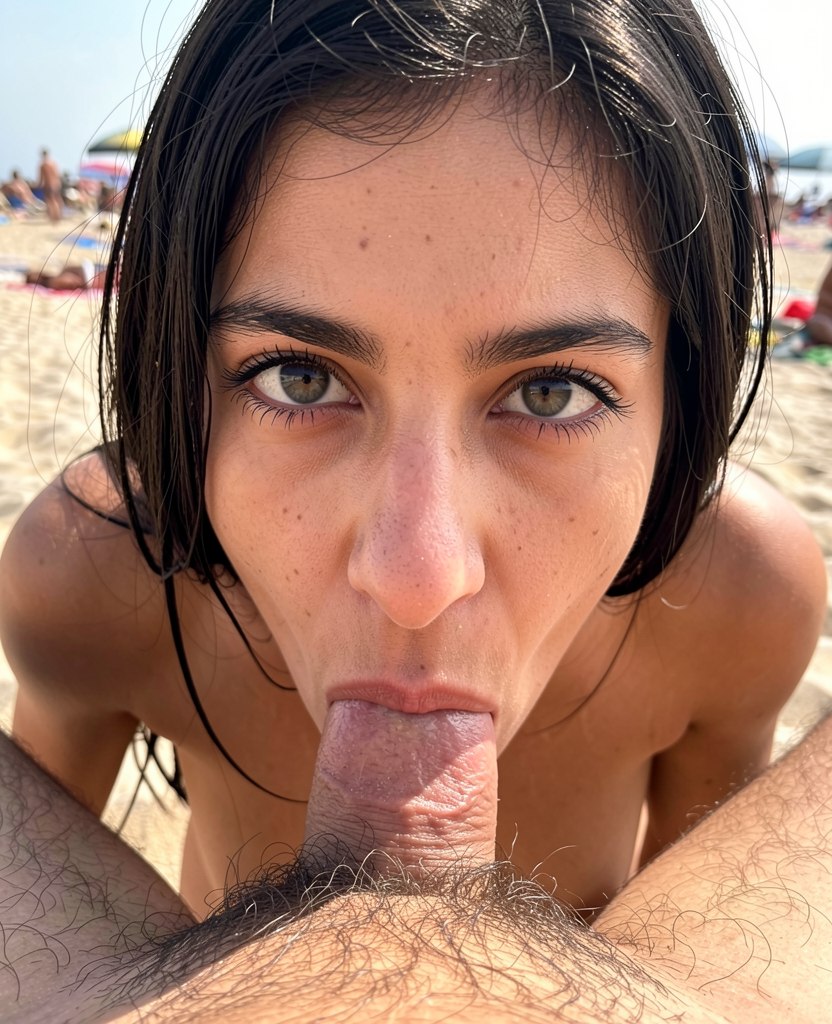
From a simple beach image we now have a full nude image of the subject performing the exact sex act we requested!
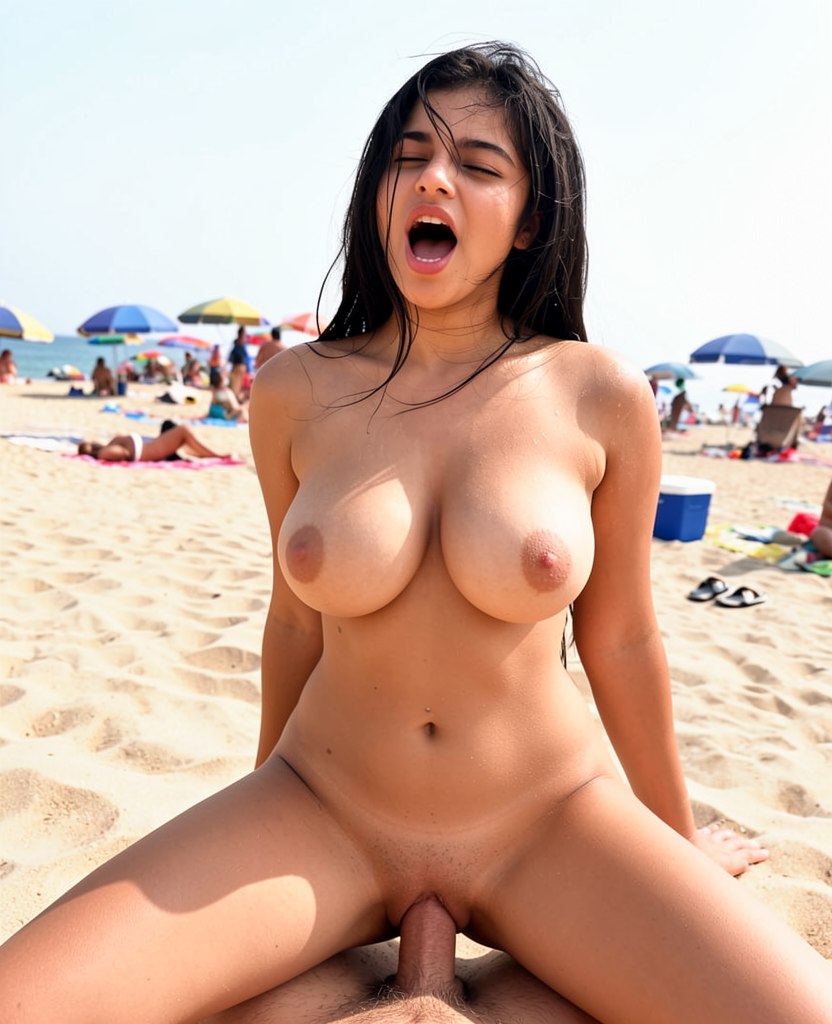
And, you can get as detailed as you want in your prompting. Let’s try a different position!
/skill /run:nudify2 make her nude. She is lying on her back on a beach towel. POV missionary sex. Overhead shot. A man's large penis is penetrating her vagina at the bottom of the screen. Her large breasts hang to the sides of her chest. Her mouth is open in a passionate moan.
![]()
Nudify2 boasts incredible prompt adherence. What you ask for is what you get!
Want a little cowgirl action? Let’s try it out!
/skill /run:nudify2 make her nude. She is straddling a man. Cowgirl position sex. A man's large penis is fucking her at the bottom of the screen. She has large breasts. Her mouth is open wide and her eyes are closed in an expression of pleasure.
Remember, with MyAiGF’s unlimited photo and video plans you can adjust your prompts until you get the perfect image every time without worrying about running up a big bill like on other sites. Experiment away!
EXAMPLES
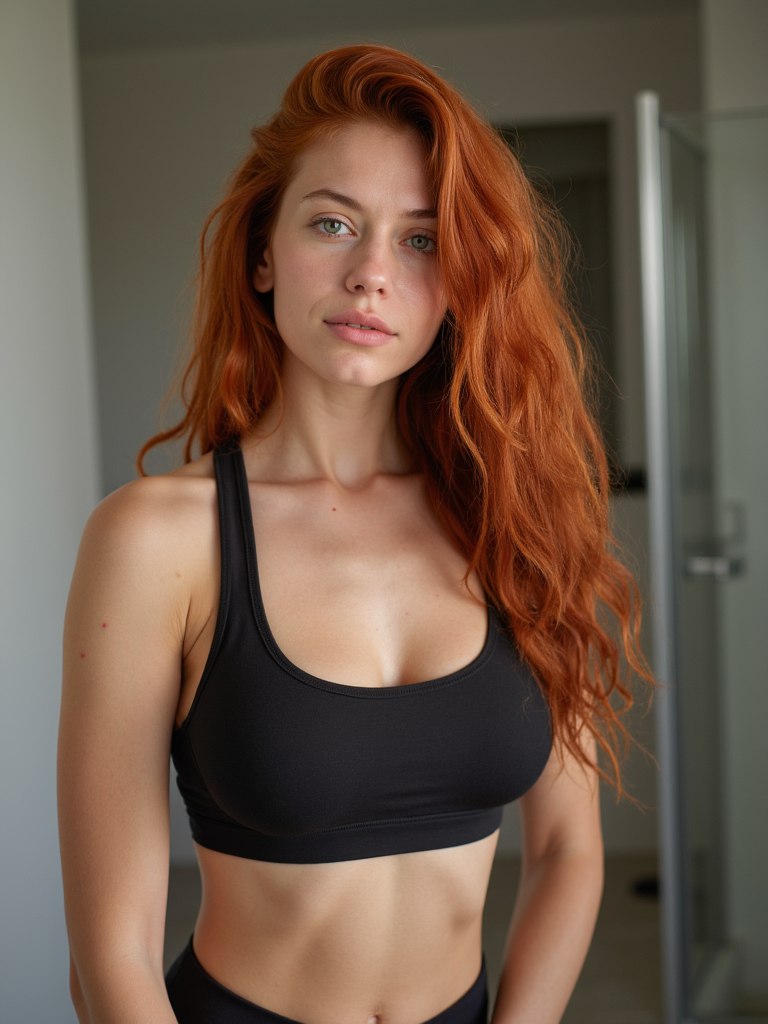
Let’s use this AI image we created as our input. Again, not a real person, our AI just just this awesome! It’s our PornMaster 3.5 which you can find in the workflows of Unified Editor.
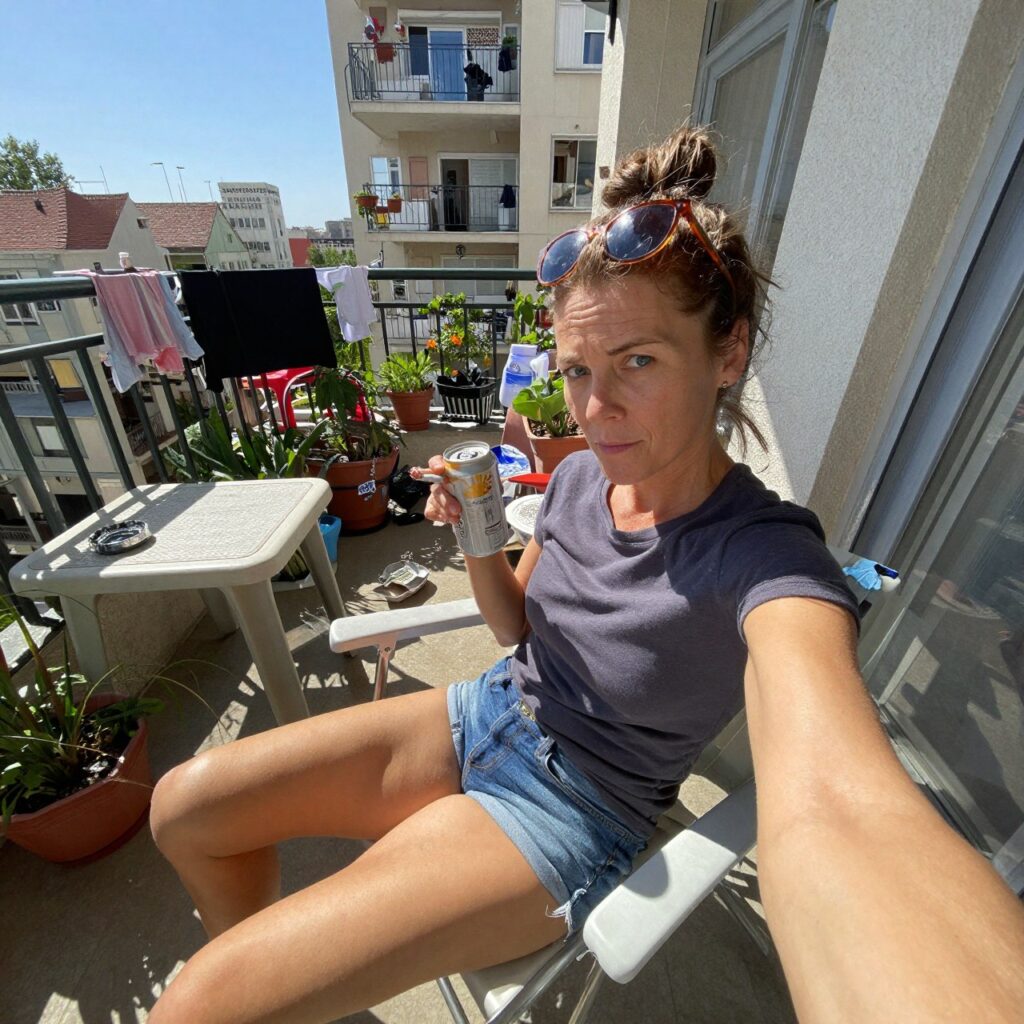
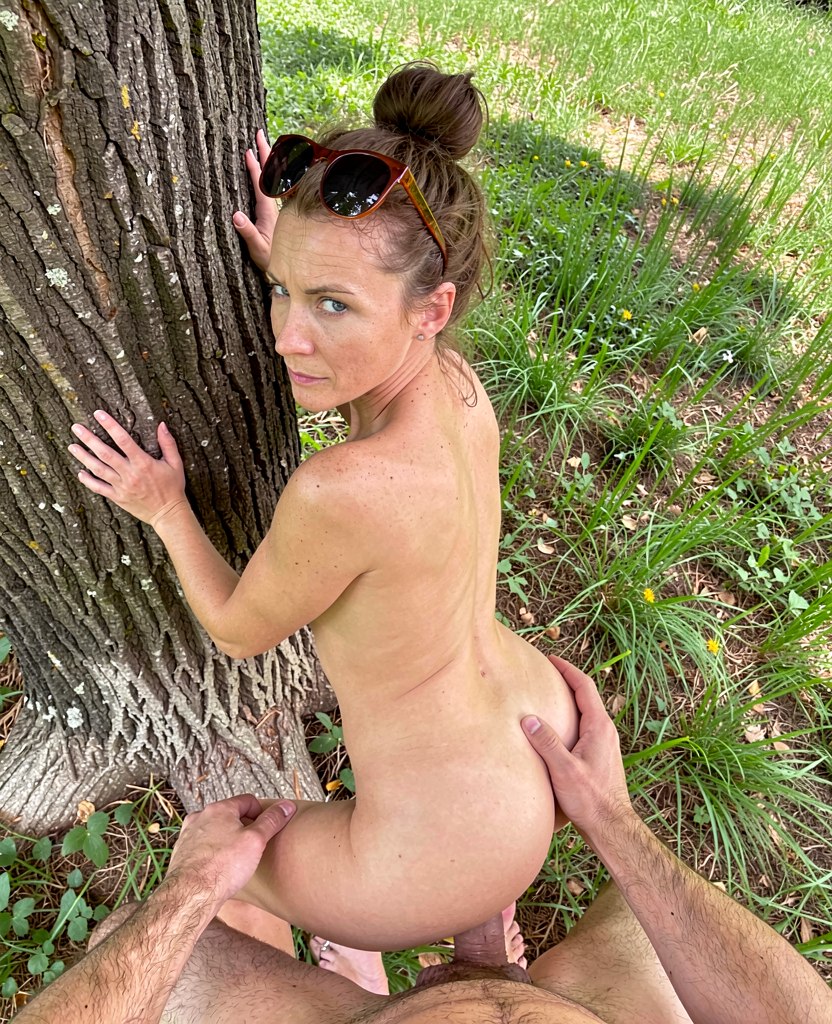
1.
/skill /run:nudify2 From a high angle looking down, the naked woman leans forward against a tree trunk in a grassy area while a man grips her hips and penetrates her with his penis during standing doggystyle sex. The woman's hands are braced against the tree trunk. The photo is from the man's perspective. She looks back over her shoulder.
2.
/skill /run:nudify2 make her nude. A man is between her legs eating her pussy. Cunnilingus. She is lying back on her bed
*IMORTANT NOTE* Fixing Over-Detail
One small quirk with Nudify2 is that it can sometimes get a little too enthusiastic with skin detail, especially when the input image is high-resolution.
You may see extra freckles, blemishes, marks, or skin imperfections that were not in the original image.
The fix is easy. Add a cleanup instruction at the end:
(no freckles, no skin imperfections)
So your full prompt might look like:
/skill /run:nudify2 make the subject nude. She has large pale natural breasts. (no freckles, no skin imperfections)
That tells the Skill:
“Thanks, but please stop inventing a dermatologist’s field guide.”
Final Tips
Think of yourself as the photographer at a photoshoot. Include anything you might think will improve your image. Be brave and experiment!